

Inverters
Want to get the most out of your solar panels? Then it’s important that your APsystems monitoring is working properly. This allows you to keep track of your solar energy production and quickly detect any issues….
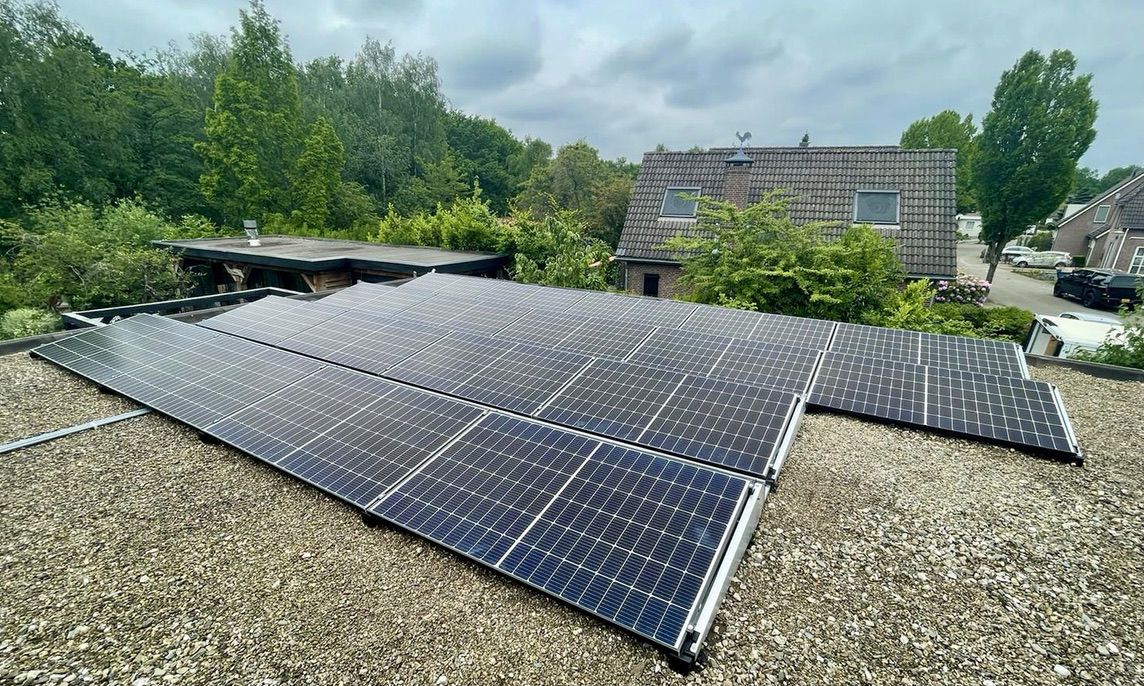
Monitoring your solar panels gives you insight into your system’s performance and helps you get the most out of your installation. It is therefore important to check your monitoring regularly. If you only discover a fault after a long time, this can often affect your energy yield. In this blog, we explain step by step what you need to do to connect your Solis Wi-Fi stick.
Firstly, it is important to check whether the Solis inverter itself is working properly. You can easily see this on the display: if it says ‘generating’, the inverter is running and electricity is being produced. You will also see the current power output in watts here.
Please note: in the evening or in extremely cloudy conditions, the inverter will switch off automatically. In that case, the lights will not be on and it will temporarily not be possible to reconnect the Wi-Fi stick.
If you have a new router or your Wi-Fi password has changed, the Solis Wi-Fi stick must be reconnected via the SolisCloud app. Follow these steps:
Check your SolisCloud app regularly to see if the inverter is generating power. Also, ensure your Wi-Fi router is stable and that the network does not switch channels or frequencies too frequently. If necessary, you can install additional Wi-Fi repeaters to ensure a reliable connection. With these tips, you can be sure that your Solis monitoring is working correctly again and that your yield remains optimal.
Want to get the most out of your solar panels? Then it’s important that your APsystems monitoring is working properly. This allows you to keep track of your solar energy production and quickly detect any issues….
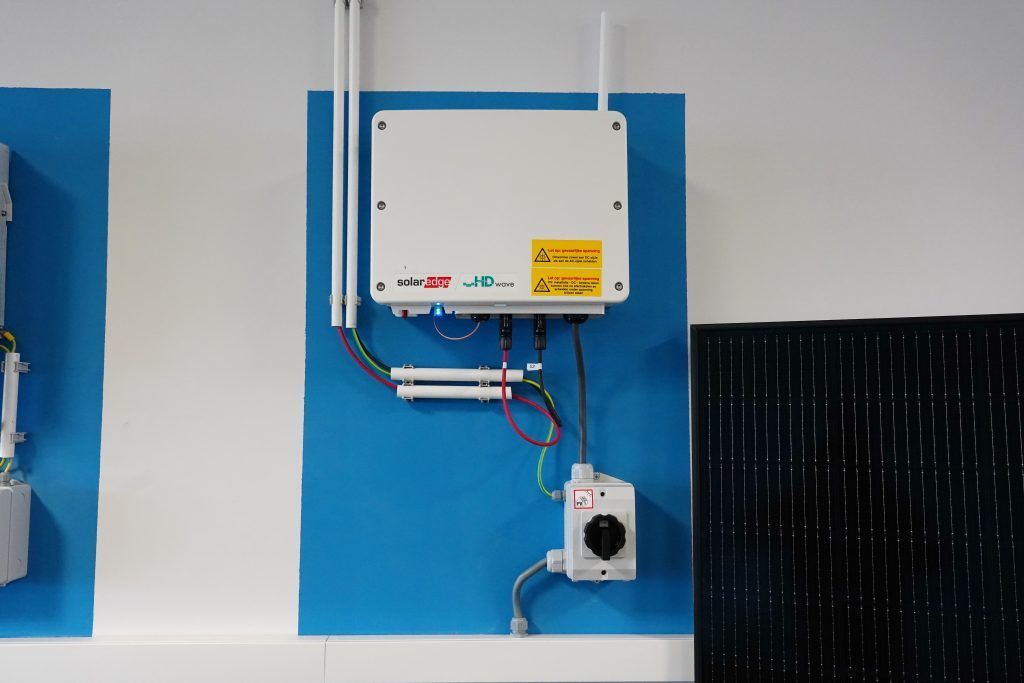
Want to get the most out of your solar panels? Then it is important that your SolarEdge monitoring is working properly. This allows you to see exactly how much electricity your system is producing and quickly…